
The First Winter in a New House Has a Way of Showing You Everything
You've been in the house a few weeks. The furniture is mostly where you want it, the boxes are mostly unpacked, and then one morning you hit the garage door opener on your way to work and the door groans, shudders, and stops halfway up. You're standing there in your coat, already running late, wondering how something that worked fine during the walkthrough is suddenly giving you trouble. This is one of the most common calls we get from new homeowners in White Lake, Highland, and Commerce Township — and almost every time, the issue was there before closing. It just wasn't on anyone's radar.
General home inspectors are generalists. They check that the door opens and closes, that the safety sensors reverse the door when something blocks the path, and that's often where the garage door portion of the inspection ends. They're not garage door technicians, and a lot of the parts that fail first — especially after a Michigan winter of road salt, deep cold, and spring mud — don't show themselves in a five-minute test. Here's what to check yourself, either before you make an offer or right after you get the keys.
Walk the Garage With This List
1. Disconnect the Opener and Lift the Door by Hand
Pull the red release cord, then lift the door about halfway and let go. A properly balanced door will stay put on its own. If it slams down or shoots upward, the springs are no longer carrying their share of the door's weight. What it means if it fails: the springs are worn out or were sized wrong for the door, and the opener has been doing extra work to compensate. That shortens the life of the opener motor and gears, and it's also a safety issue — an unbalanced door can drop fast if a cable lets go.
2. Look Closely at the Springs for Rust and Gaps in the Coils
Torsion springs sit on a bar above the door; extension springs run along the upper tracks. Either type should have tight, even coils with no visible gaps when the door is closed. What it means if it fails: rust pitting (common here thanks to road salt tracked in on tires and boots all winter) weakens the metal from the inside out. A spring that looks fine but is pitted can snap without warning, usually on the coldest day of the year when the metal is least flexible.
3. Check Every Cable and Pulley for Fraying
The lift cables run from the bottom corners of the door up to a drum near the springs. Look for broken strands, kinks, or a cable that's slipped off its pulley groove. What it means if it fails: a fraying cable is close to snapping, and when it does, that side of the door drops suddenly while the other side stays up — which can twist the door badly enough to need full panel replacement, not just a cable fix.
4. Run Your Hand Along the Tracks
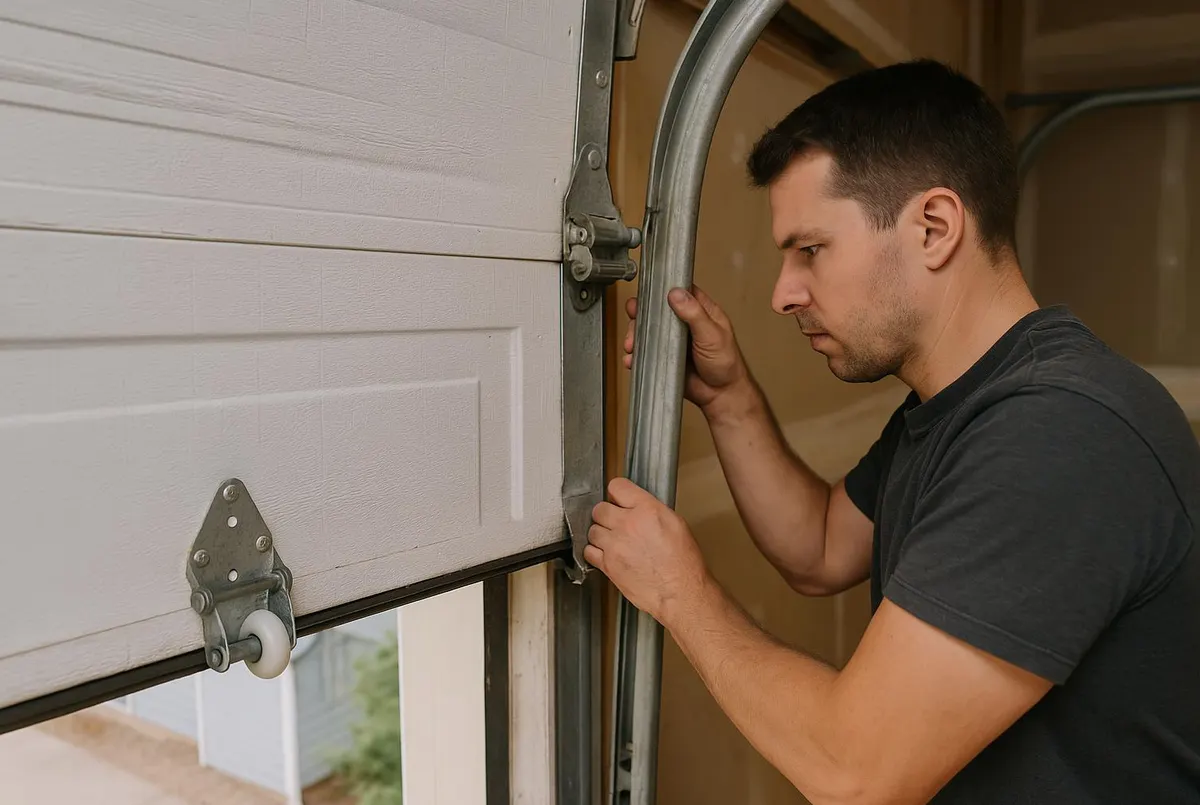
Check for rust, dents, or spots where the track has pulled away from the wall bracket. Dents are especially common if a previous owner backed into the door or hit it with a snowblower or lawn equipment. What it means if it fails: even a small dent can make the rollers bind or jump the track, and a track that's pulled loose from its bracket is a sign the whole system has been under stress longer than you'd guess from the outside.
5. Press on the Bottom Weather Seal
The rubber astragal along the bottom of the door should be flexible, not cracked or flattened, and should sit flush against the floor with no daylight showing through. What it means if it fails: a worn seal lets in melting snow, mud, and cold air — exactly what you're dealing with during spring thaw and deep winter here. Over time that moisture also accelerates rust on the bottom panel and the springs above it.
6. Check the Bottom Panel for Water Staining or Bubbling Paint
Crouch down and look at the lower 12 inches of the door, inside and out. What it means if it fails: this is usually a sign that water has been sitting against the panel for a while, often because of a failed seal or poor grading outside the garage. On steel doors this leads to rust-through; on wood doors it leads to rot. Either way, it's a repair that gets more expensive the longer it's ignored.
7. Test the Opener's Auto-Reverse Safety Feature
Place a 2x4 flat on the ground where the door closes. The door should reverse immediately on contact. Then wave your hand through the photo-eye sensors near the bottom of the tracks while the door is closing — it should stop and reverse without touching anything. What it means if it fails: this is a genuine safety hazard, not just an inconvenience, and it often means the sensors are misaligned or the opener's force settings were never adjusted properly.
8. Note the Opener's Age and Listen for Grinding or Slipping
Check for a manufacture date on the opener's motor unit sticker if you can find it. What it means if it fails: openers typically last 10 to 15 years, and a unit that grinds, hesitates, or runs longer than it used to is nearing the end of its service life — worth knowing before it fails on a sub-zero morning when you need to get out the door.
When to Call White Lake Garage Door
If any of these checks turn up something you're not comfortable adjusting yourself — especially anything involving the springs or cables, which are under heavy tension and genuinely dangerous to work on without the right tools — that's when it's time to call us. We handle spring replacement and full garage door maintenance for homeowners throughout White Lake, Waterford, Milford, Clarkston, and the surrounding area, and we're happy to come out and do a pre-purchase or post-move-in inspection so you know exactly what you're working with before winter really sets in.
If you just bought a home in White Lake, MI, or you're noticing any of these warning signs in your current garage, give White Lake Garage Door a call. We'll check it properly, tell you straight what needs attention now versus what can wait, and get it done right.